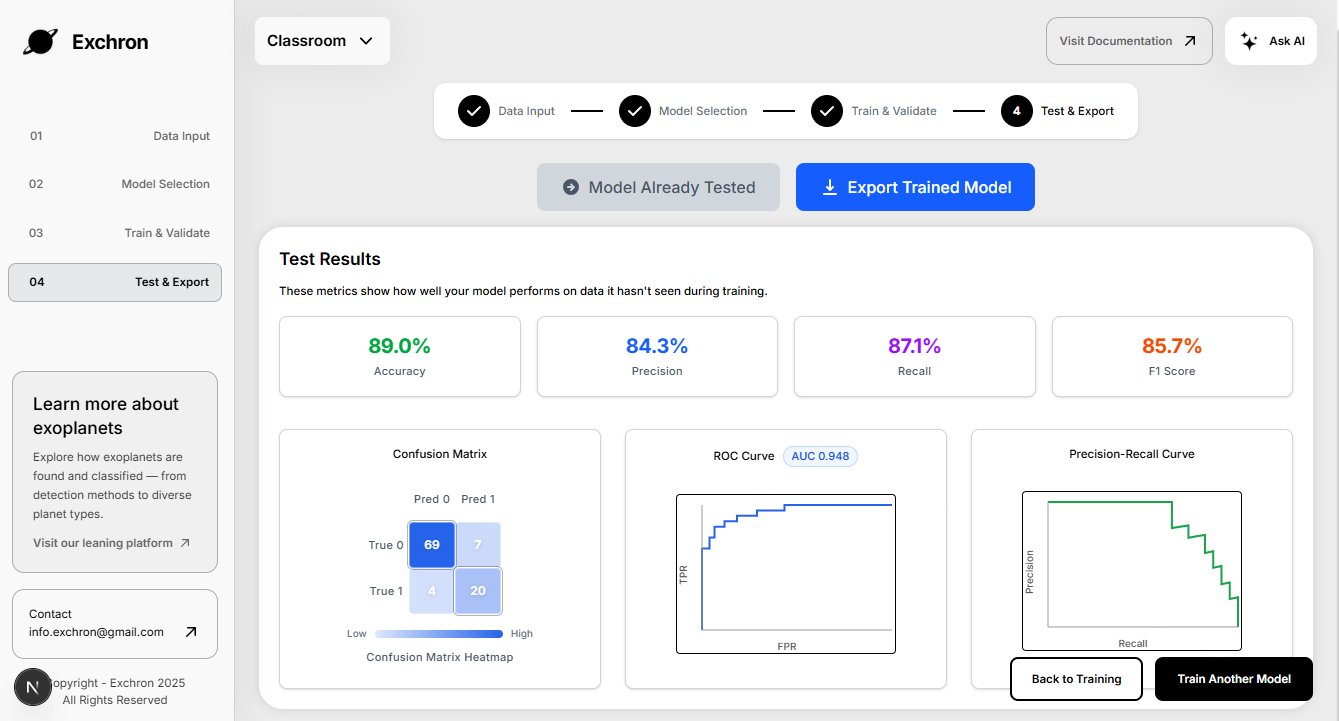
Classroom Flow
You can switch to Classroom mode using the mode dropdown in the top-left of the page and selecting “Classroom”. Below is the step-by-step flow with screenshots.
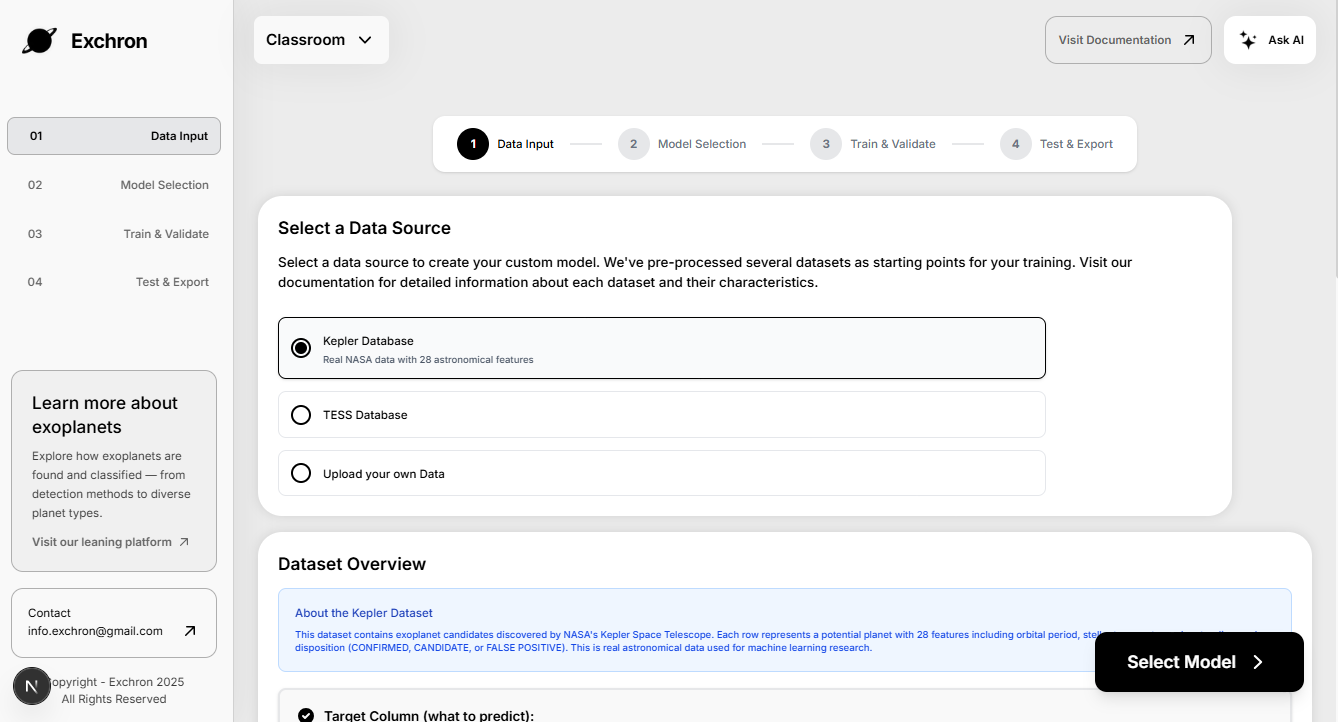
Step 1 — Data input (first page)
- You land on the Data Input page first.
- Select a data source. By default, 80% of the data will be used to train the model and 20% to test it.
- Options include preprocessed Kepler and TESS datasets, or you can upload your own (an example format is provided).
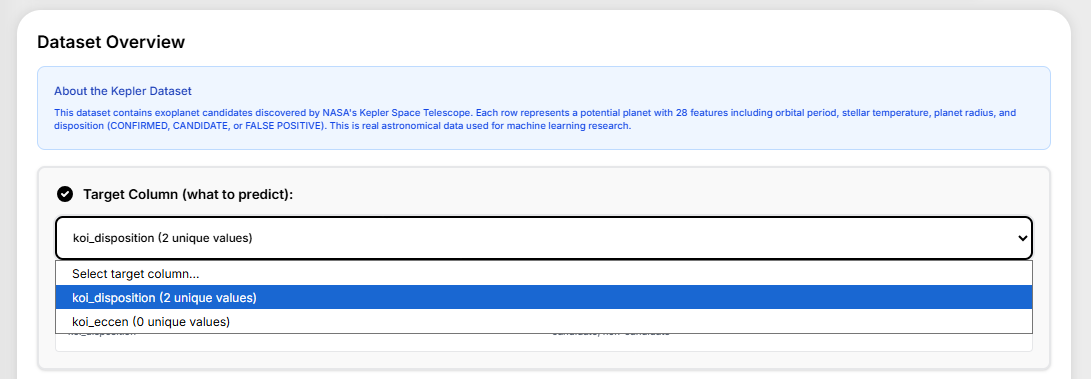
Step 2 — Dataset overview and target
- Scroll to see a full overview of the selected or uploaded dataset.
- Choose the Target column (the value the model will predict) from a dropdown.
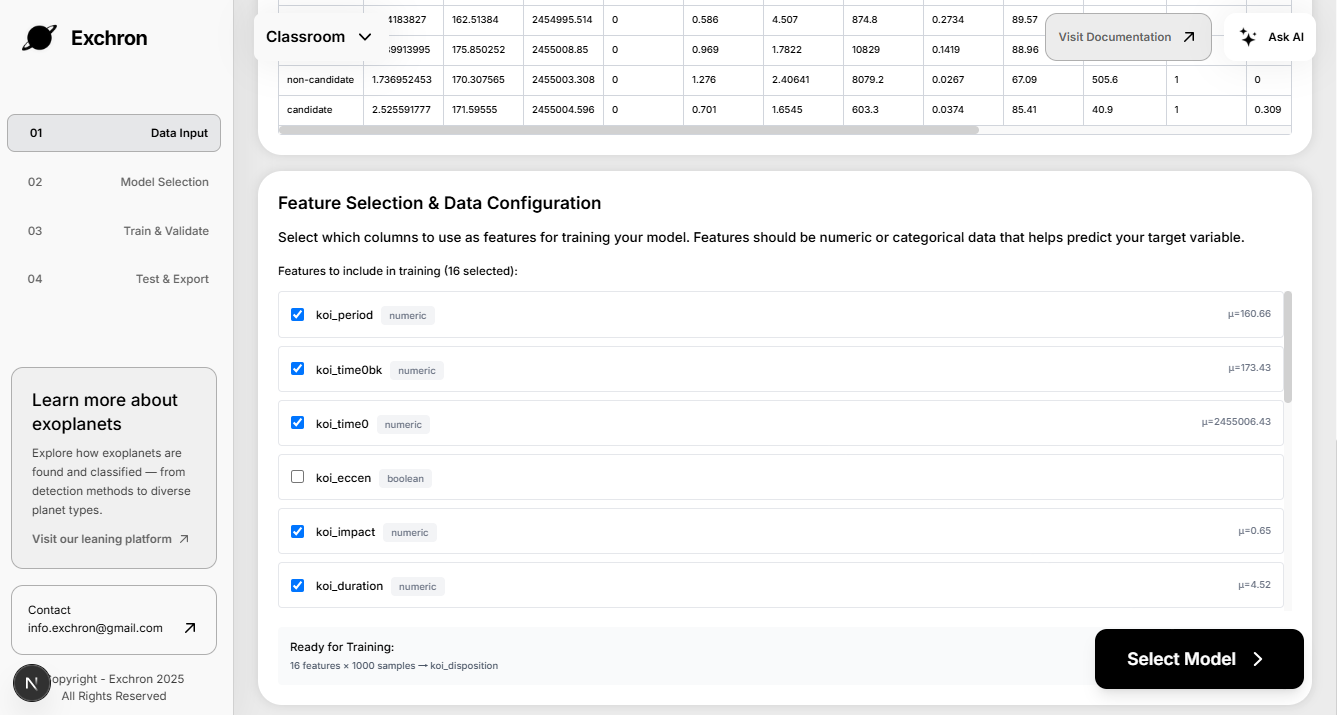
Step 3 — Select features
- Choose which features (columns) to include for training.
- When ready, click the “Select Model” button at the bottom-right.
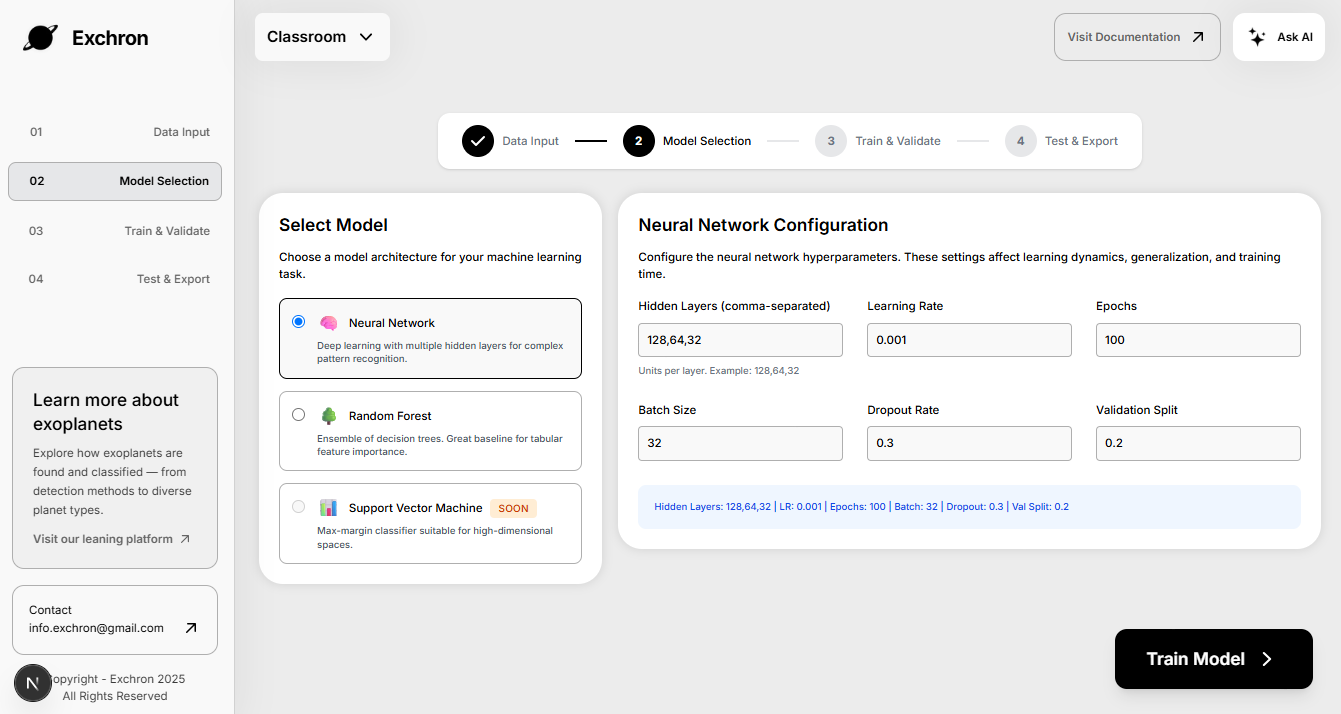
Step 4 — Choose and configure a model
- Pick the type of model to train: Neural Network or Random Forest.
- Configure settings appropriate to your choice (e.g., layers/epochs for NN; trees/depth for RF).
- Click “Train Model” when your configuration is set.
Step 5 — Training page
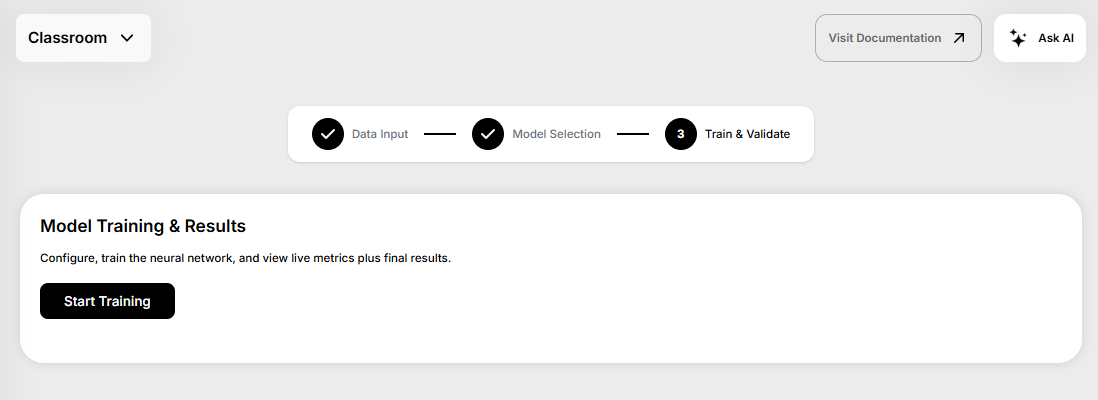
- You’ll be taken to the Training page.
- Click “Start Training” when you’re ready.
Step 6 — Training progress
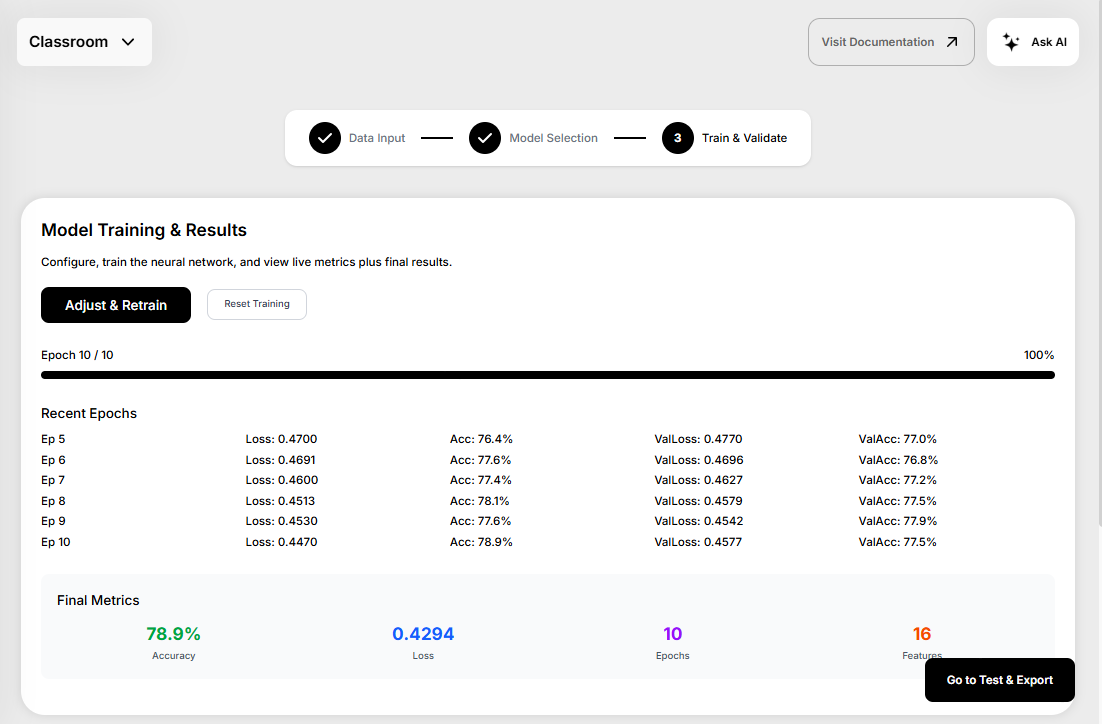
- Watch training progress with interactive visualizations.
- After training completes, either “Adjust & Retrain” to refine, or choose “Go to Test & Export”.
Step 7 — Test model
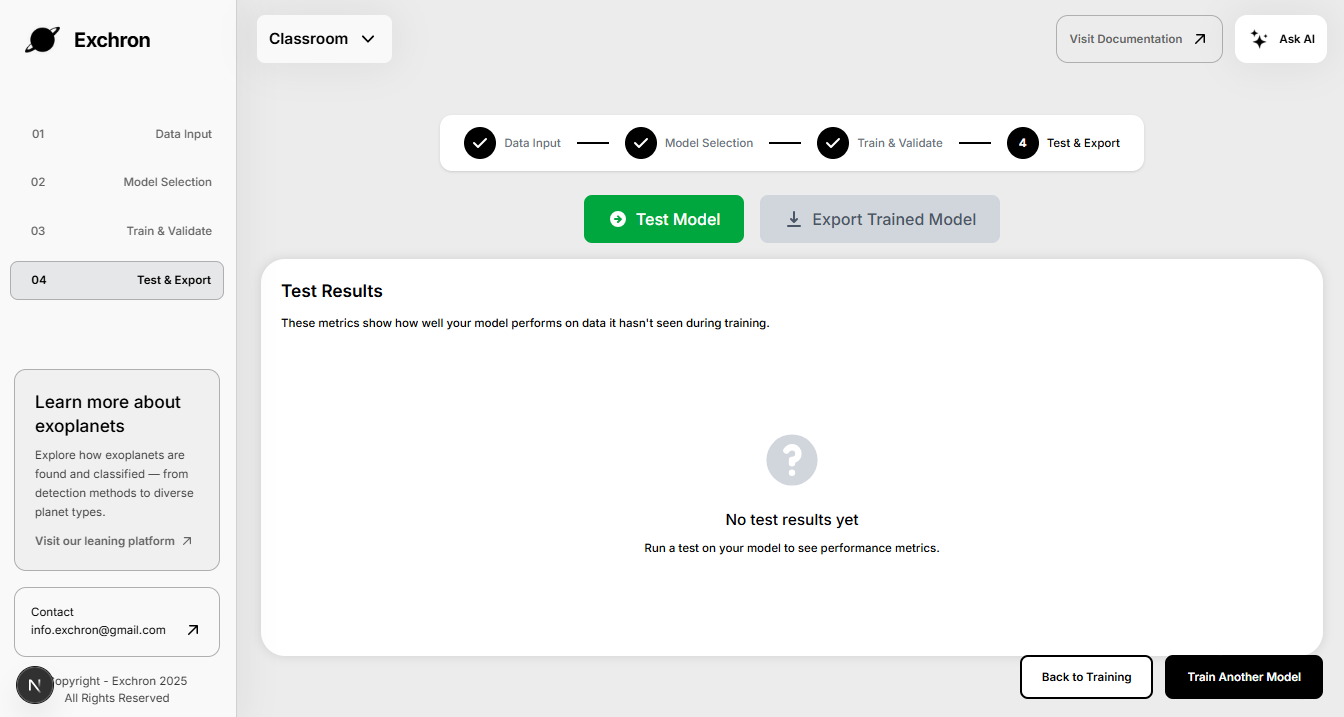
- You’ll arrive at the Test & Export page.
- Click “Test Model” to evaluate using the 20% test split.
Step 8 — Review results and export
- View full analytics of the test run with interactive visualizations.
- Click “Export Trained Model” to download your model.
- To start over, click “Train Another Model”.